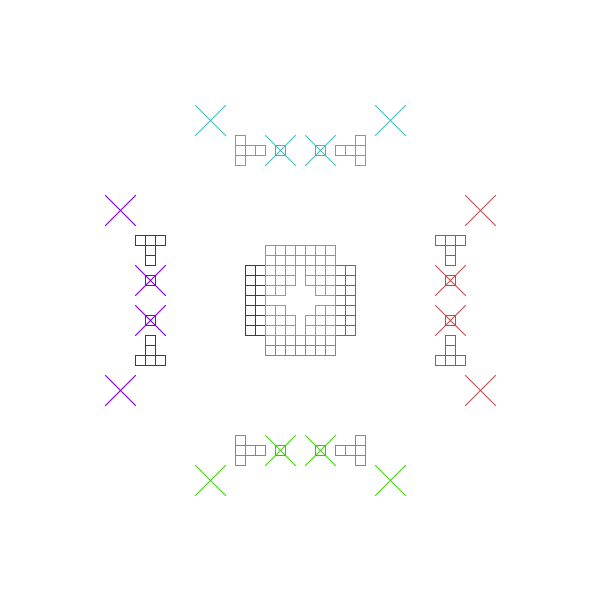
Let's take a look at the pattern we got after moving the items, and try to find out, what the next operations could be:
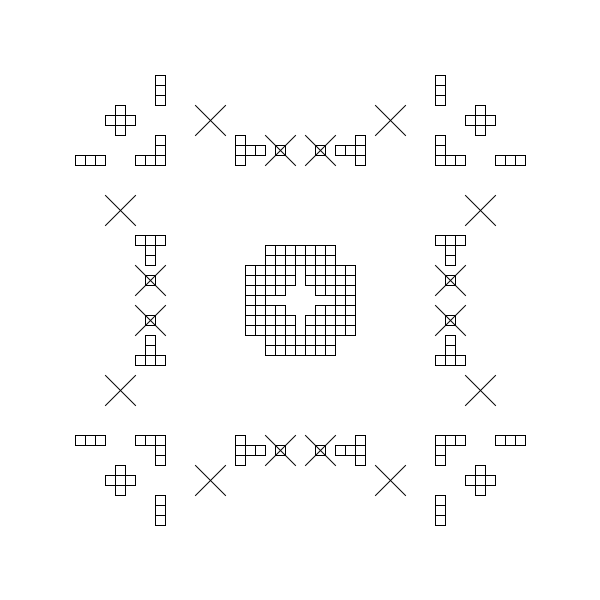
First of all, it seems obvious, that the outer corner elements can be linked to the missing corners of the inner shape:
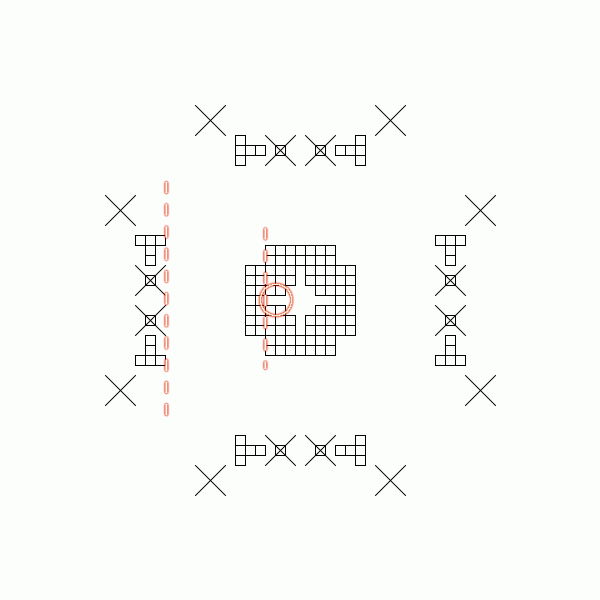
Note: since the Sun symbols are now closer to the middle elements than to the corners, the latter are separated on themselves.
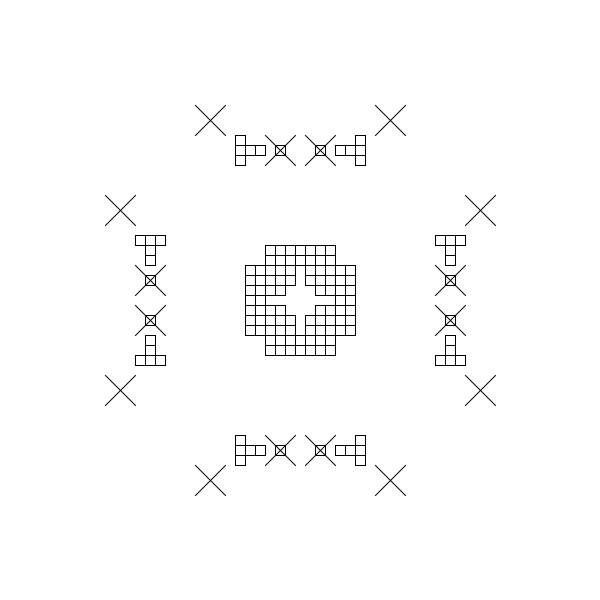
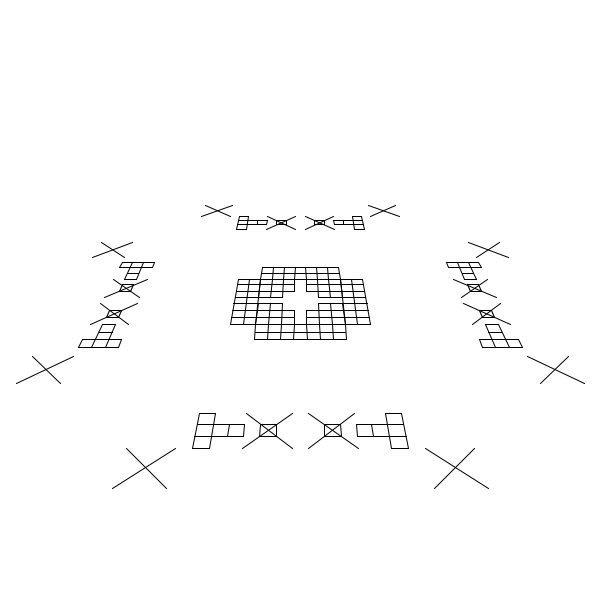
And it means, of course, that we don't need the corners anymore, and they can be removed:

Note: it seems quite logical, that the corner elements were required solely to serve as holders of the Sun symbols during the moving step.
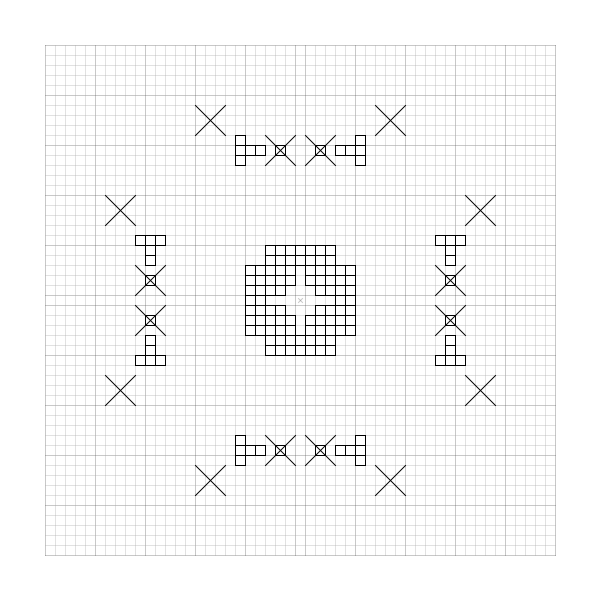
The new pattern, after removing the corners:
Now, apparently, we should associate the outer elements with the "fringes" of the inner shape (only one link is shown here):
The associations visualized by different colors:
The two-square wide gaps in the inner shape might indicate us, that, in order to cover these gaps, we should fold back the fringes over the inner shape to the intersection line. And this would, of course, mean that also the outer items should be folded back to their inward edges (just like their corresponding inner counterparts):

The same from a tilted perspective:
And with the grid switched on:
A very nice move again! As we can see, two Sun symbols exactly fall together (which is, evidently, not a miracle in itself, but instead determined entirely by their positions before the fold). This fact could reassure us anew that we are on the right track, since it hardly could have happened by accident, and seems to be the very intention of the design behind the pattern. Let's also recognize that as a result, the numbers of the Sun and star symbols are not equal anymore, and for each Sun there are two stars now on the picture (which, of course, will have consequences for interpreting the figure at the end).
In the next step we will continue making the inner shape more complete and performing the indicated operations on the outer elements too.