After having performed the fold in the previous step we got this state as a result:
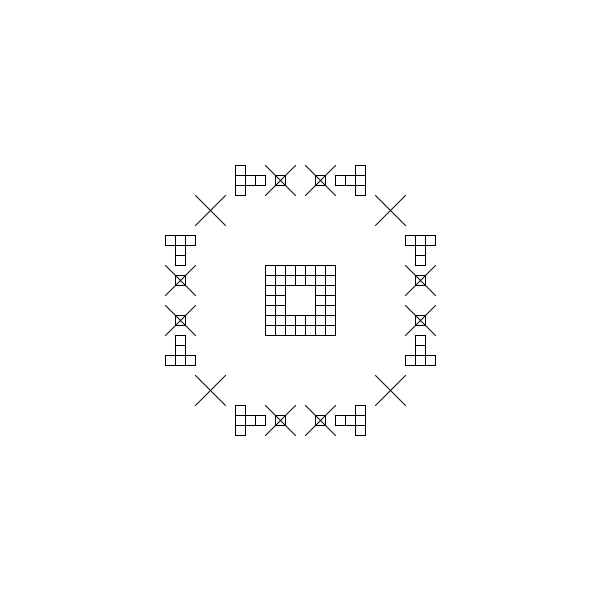
As we can see, the inner shape is not complete yet, so we should find again the necessary operation to make it more perfect. But before that, we must link the inner and the outer elements to each other somehow. It seems obvious, that the inner and the outer square should be associated with each other:
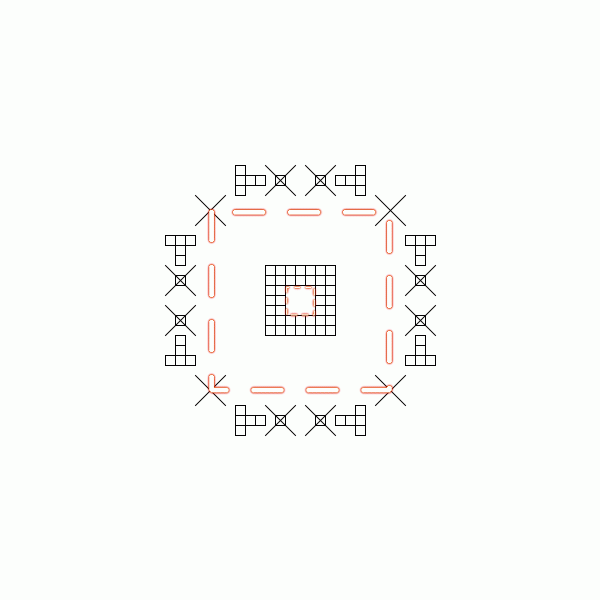
And that means, of course, that we should link the elements outside the squares together (only one link is shown here):
Note: although each corner belongs to two adjacent groups at the same time, it won't cause any problems, since the elements will be folded one after the other (see below).
It seems clear, that, to eliminate the gap inside the inner shape, we should fold back the fringes again, this time to the edges of the square. And this naturally implies that also the outer elements are to be folded to the sides of the outer square.
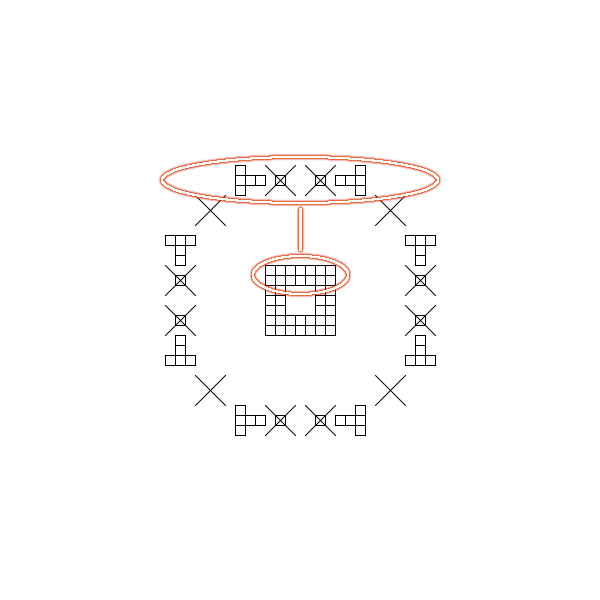
Let's perform the folds one after the other:

The folds from a tilted perspective:
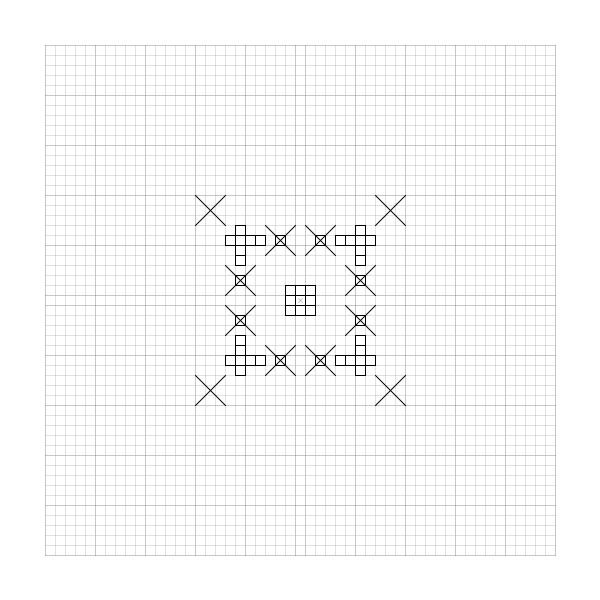
And with the grid switched on:
The final state, first with grid turned on and then zoomed into it:
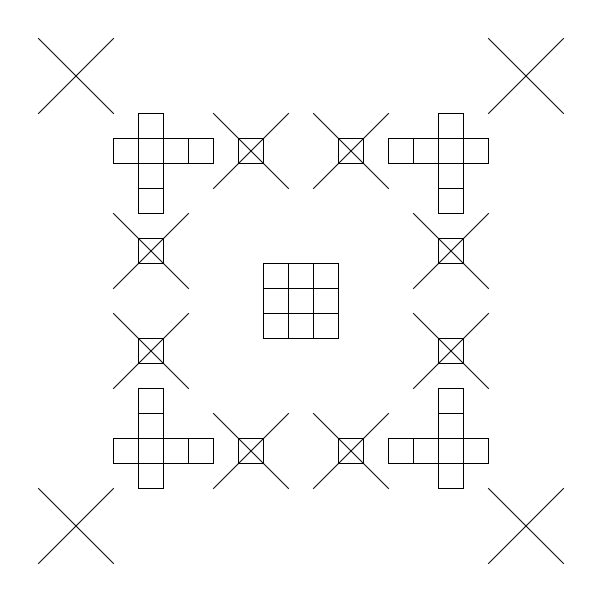
It's almost unbelievable! Apparently we have successfully completed the transformation process! The inner shape is a full 3×3-sized square now, moreover placed exactly in the origin, so it could not be more perfect. And also the Sun and the star symbols are connected to each other at last!
But what type of information does this image actually hold? And how can we identify the other solar system with the help of it? In the next step we will try to answer these questions by deciphering the message presumably contained in this picture.