In this appendix all states and transformations of the solution process have been collected. For each state, a computer processable file was generated (about its format see the section at the bottom), which is accessible by clicking on the respective state number (all state files together in one compressed ZIP can be downloaded here). For each transformation, the link defined on it references the step in the solution process, where this operation was performed and described in detail.
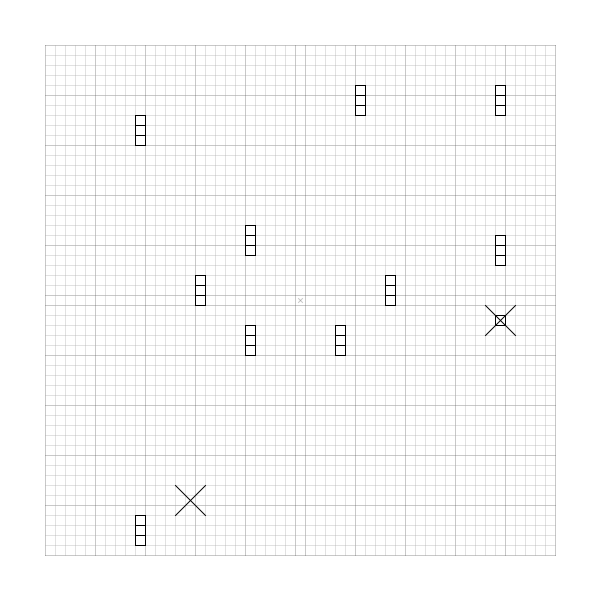
State #1 .TXT (initial layout: 30 squares, 1 sun, 1 star):
Transformation #1 (duplicate layer #1 and rotate it 90° clockwise):

State #2 .TXT (58 squares, 2 suns, 2 stars):
Transformation #2 (duplicate layer #2 and rotate it 90° clockwise):

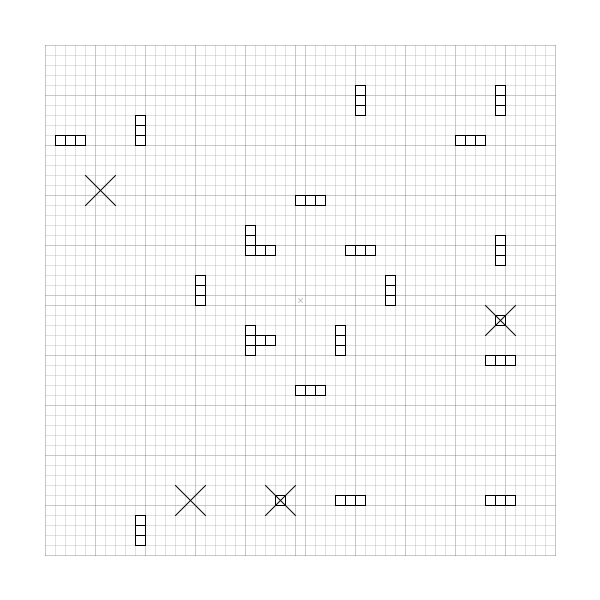
State #3 .TXT (86 squares, 3 suns, 3 stars):
Transformation #3 (duplicate layer #3 and rotate it 90° clockwise):

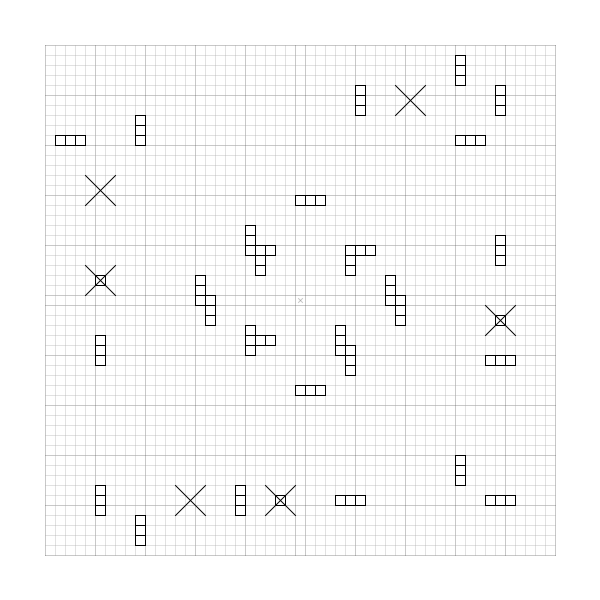
State #4 .TXT (112 squares, 4 suns, 4 stars):

Transformation #4 (duplicate whole pattern and reflect it to the Y axis):
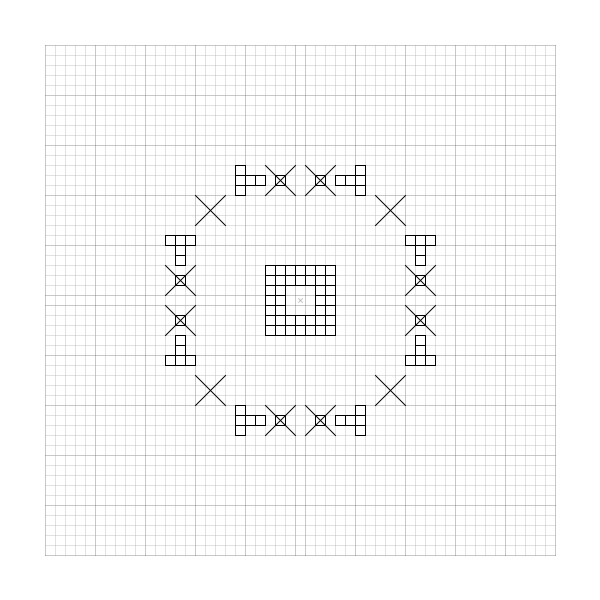
State #5 .TXT (control phase: 192 squares, 8 suns, 8 stars):
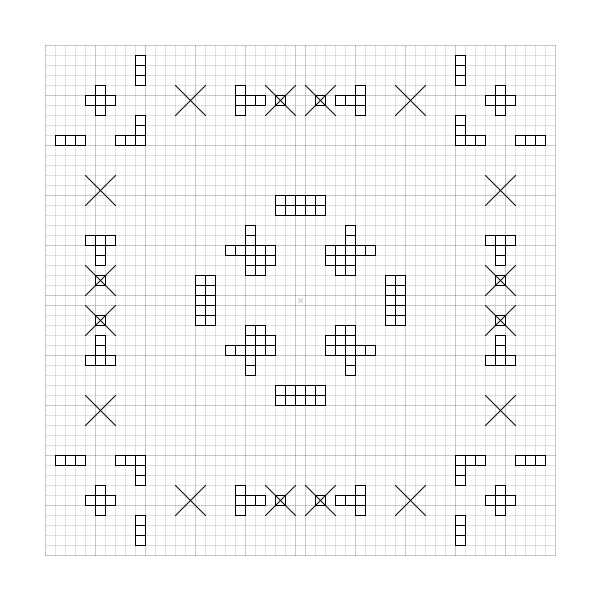
Transformation #5 (move corner items toward center by √8 units (2 in both directions)):

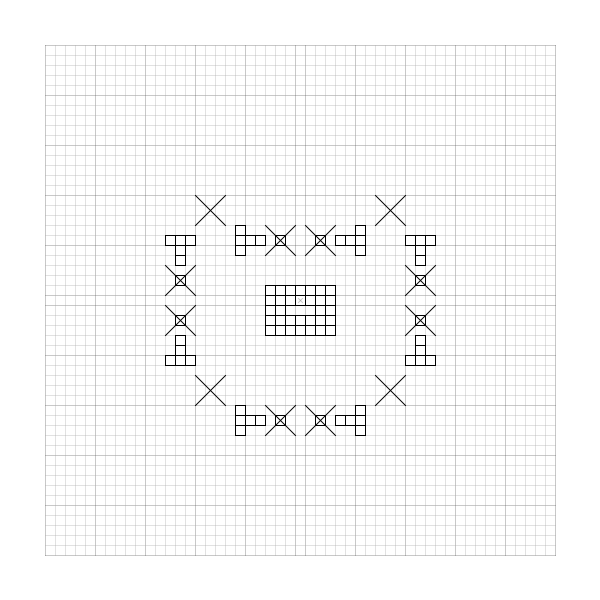
State #6 .TXT (192 squares, 8 suns, 8 stars):

Transformation #6 (move middle items toward center by 5 units):
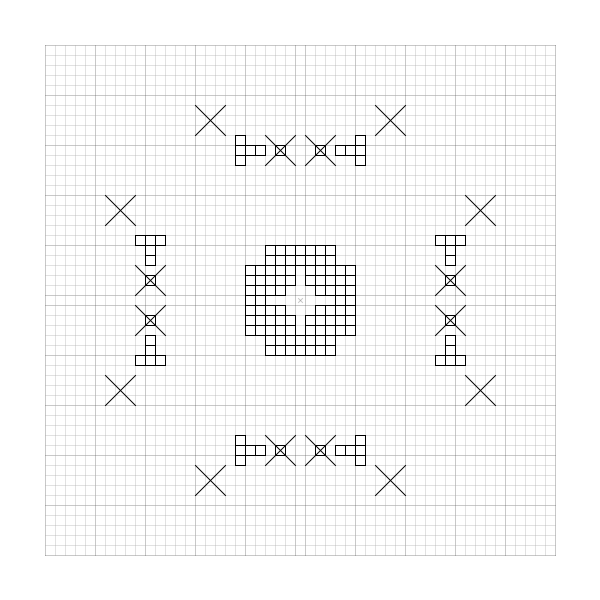
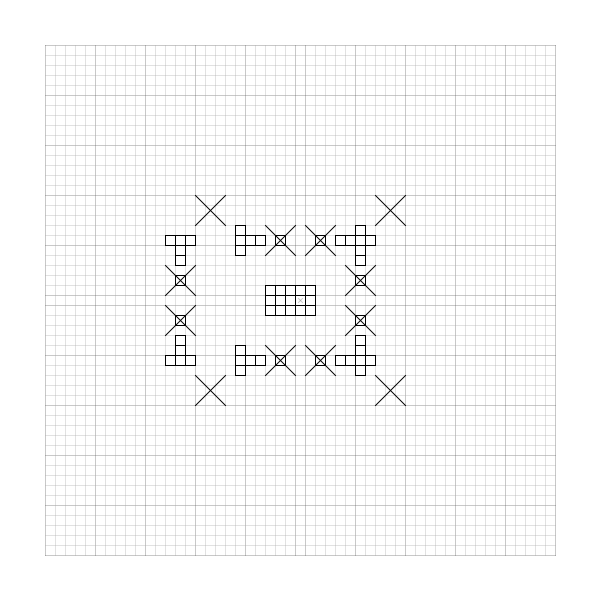
State #7 .TXT (192 squares, 8 suns, 8 stars):

Transformation #7 (remove corner items):
State #8 .TXT (128 squares, 8 suns, 8 stars):
Transformation #8 (fold items and "fringes" to their inner edges):

State #9 .TXT (80 squares, 4 suns, 8 stars):
Transformation #9 (fold top items):

State #10 .TXT (72 squares, 4 suns, 8 stars):
Transformation #10 (fold right items):

State #11 .TXT (61 squares, 4 suns, 8 stars):

Transformation #11 (fold bottom items):
State #12 .TXT (49 squares, 4 suns, 8 stars):
Transformation #12 (fold left items):

State #13 .TXT (37 squares, 4 suns, 8 stars):

Transformation #13 (remove the inner and the redundant elements):
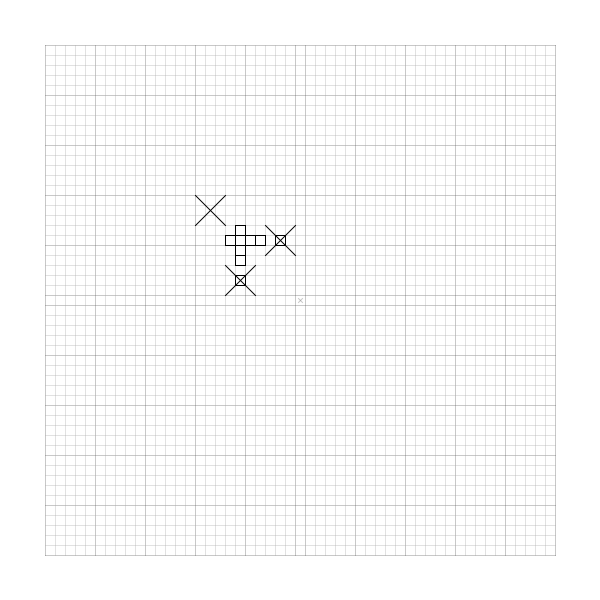
State #14 .TXT (final figure: 7 squares, 1 sun, 2 stars):
State file format
The Palenque state file (PQS) describes a state in the transformational process.
It is a 7-bit ASCII text (no special characters are used),
where the newline is always represented exclusively by the line feed (0x0A) character (Unix mode).
The first line of the file contains the "PQS" string, a space (0x20) separator,
and the zero padded, two characters long state number (e.g. PQS 03).
After an empty line, the coordinate system and its content is described in 51 rows and 51 columns, where each cell is represented by one of the following characters:
| Character | ASCII code | Meaning |
|---|---|---|
| . | 0x2E | Empty cell |
| x | 0x78 | Origin (only if empty) |
| Q | 0x51 | A square cell |
| S | 0x53 | Center cell of a sun symbol |
| s | 0x73 | Non-center cell of a sun symbol |
| R | 0x52 | Center cell of a star symbol |
| r | 0x72 | Non-center cell of a star symbol |
After an empty line, the item statistics follow in 3 lines for the Q, S and R items consecutively, for each line with the format:
- one character item type identifier (Q, S or R);
- space separator;
- the number of the items of this type in three characters, with zero padding (e.g. 032);
- for each item (from top to down and from left to right) its coordinates in 8 characters, with the following format:
- space separator;
- X coordinate in 3 characters: sign (+/-) and zero padded value in two characters (0 is represented as +00);
- comma separator;
- Y coordinate in the same format as X.
Note: The state files were generated with the help of the
StateAnalyzer class
of the PalenqueAnimation application.
In order to create the files, at first the ENABLED field of the class
must be set to true, and then each frame (or at least one per state) must be rendered by the
FrameRenderer class.
(For this purpose, running once the test1() method in the
FrameRendererTest class
could be the easiest way.)