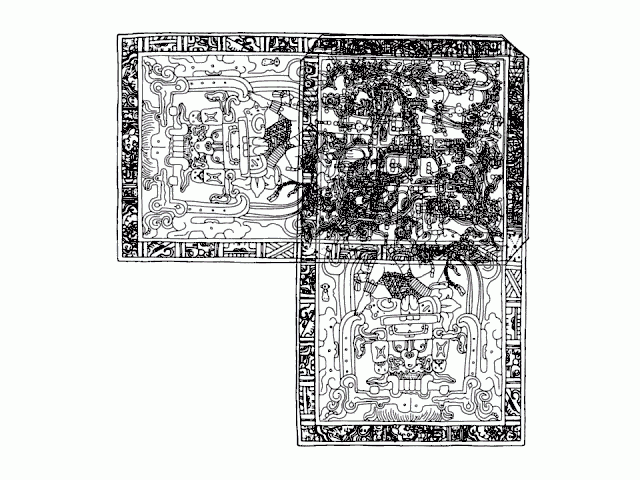
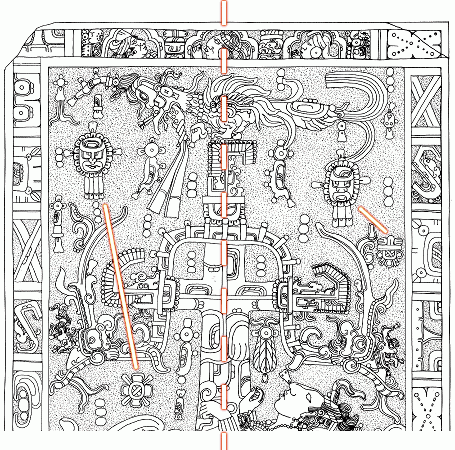
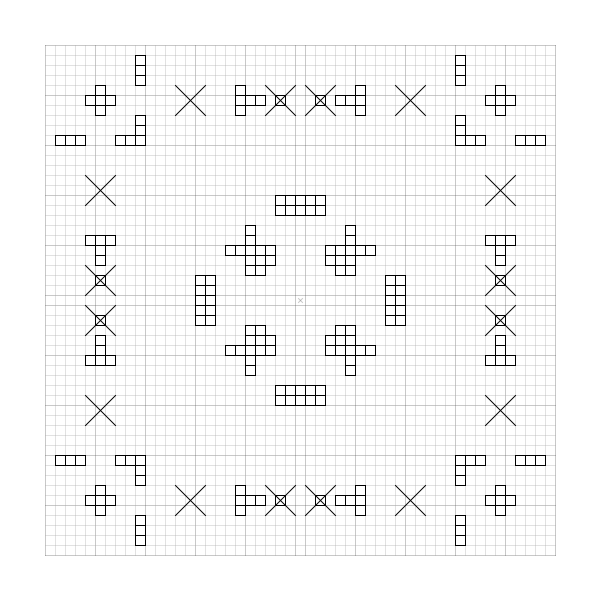
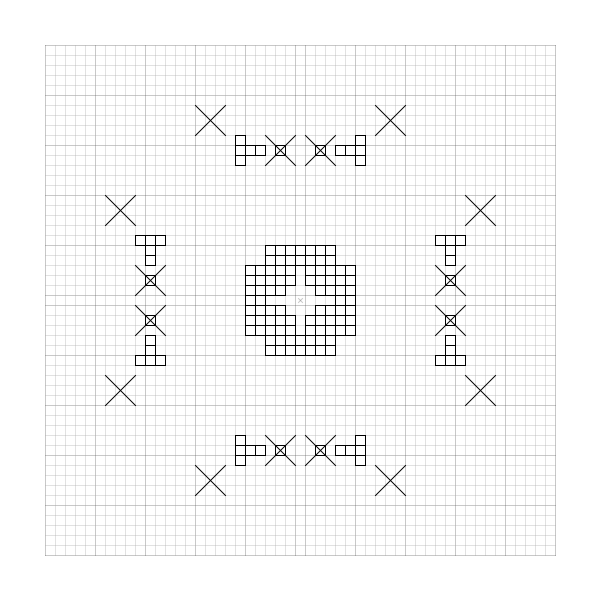
We examine the cover drawing of the Palenque sarcophagus lid in this document.
Our supposition is that it could contain a hidden message encoded in its pattern.
We try to decipher the code and reveal this secret message in 12 steps.
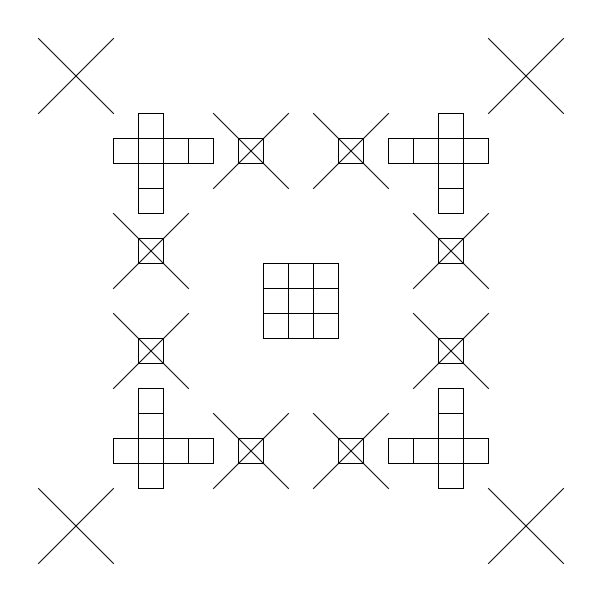
In step #1 we recognize that the pattern can be divided into two parts and the upper section is a square:
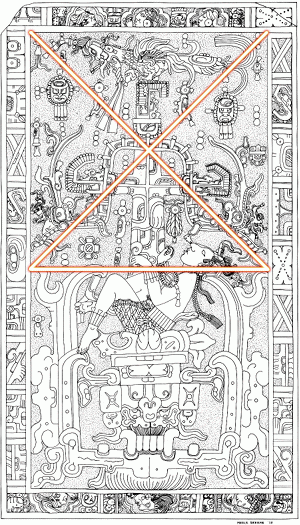
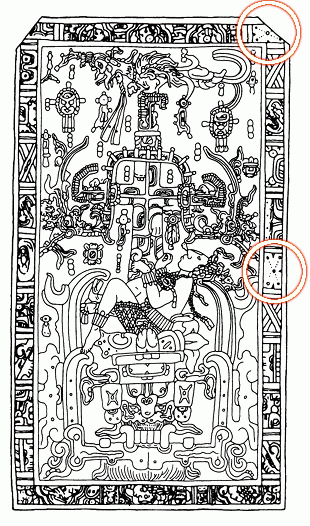
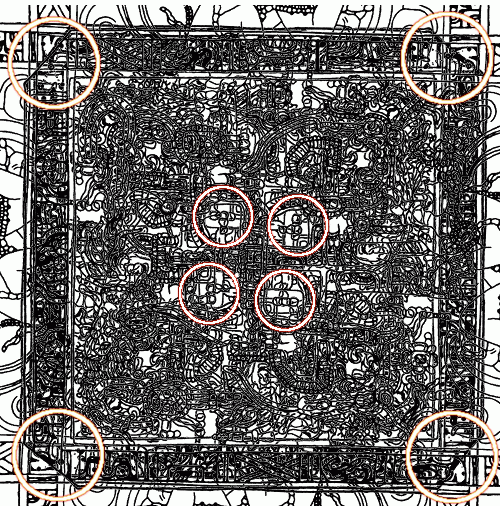
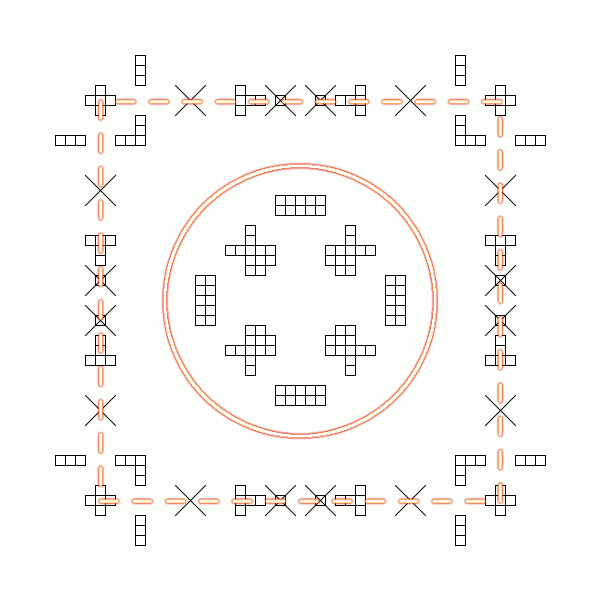
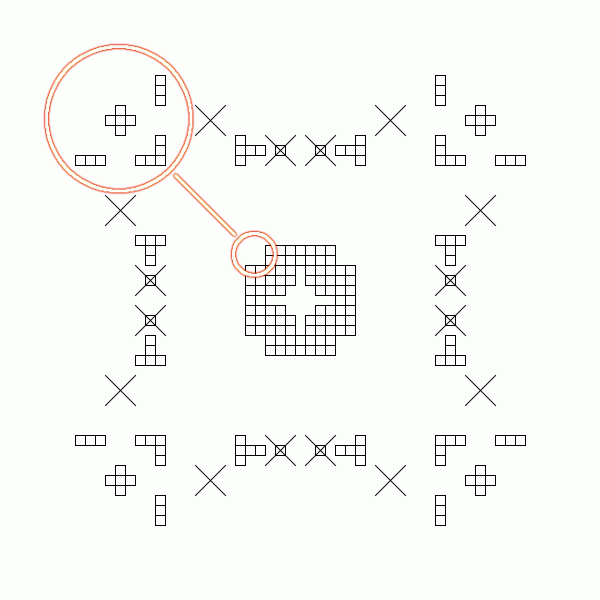
In step #2, first we notice the two plain X shapes on the edges:
Then we realize that we can bring the two X shapes to cover each other by duplicating the pattern and rotating the second layer 90° clockwise:

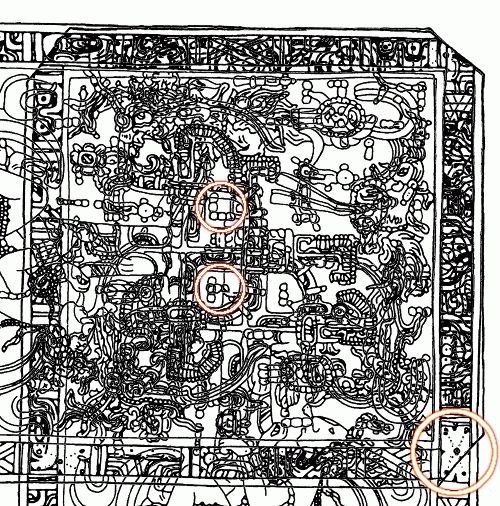
We also observe that the triplets (the three-circled items) inside started to join each other:
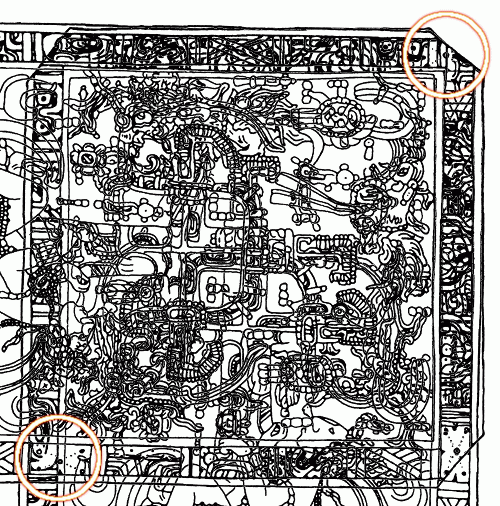
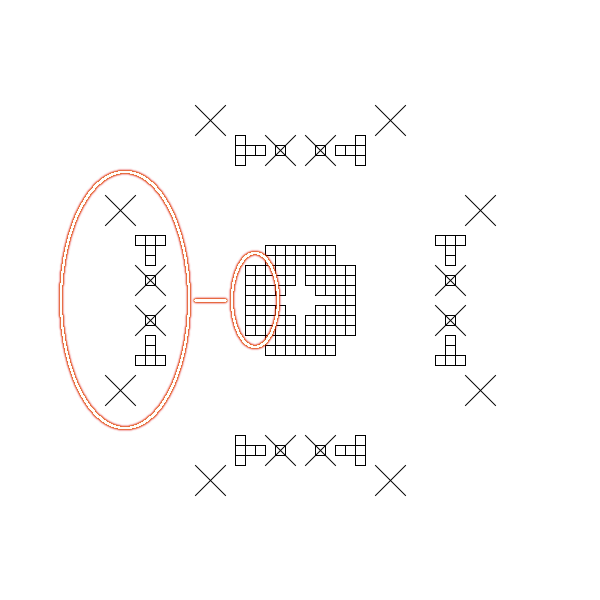
After the rotation there are again two unconnected X shapes (one on the first layer, and one on the second):
To make them connected too, we must perform another two rotations:
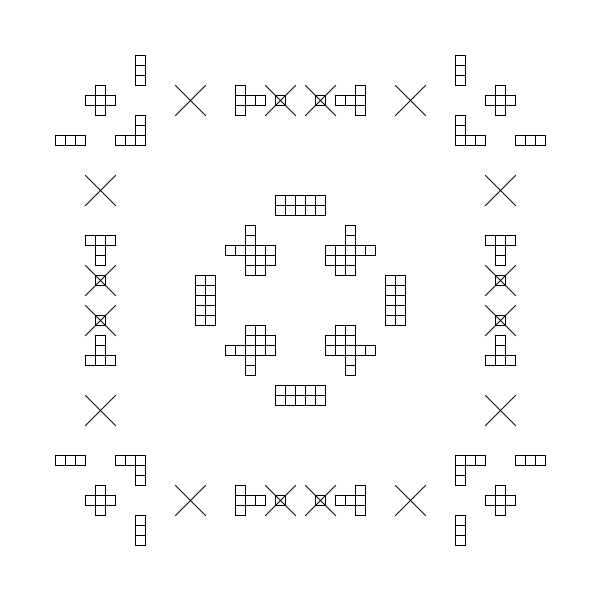
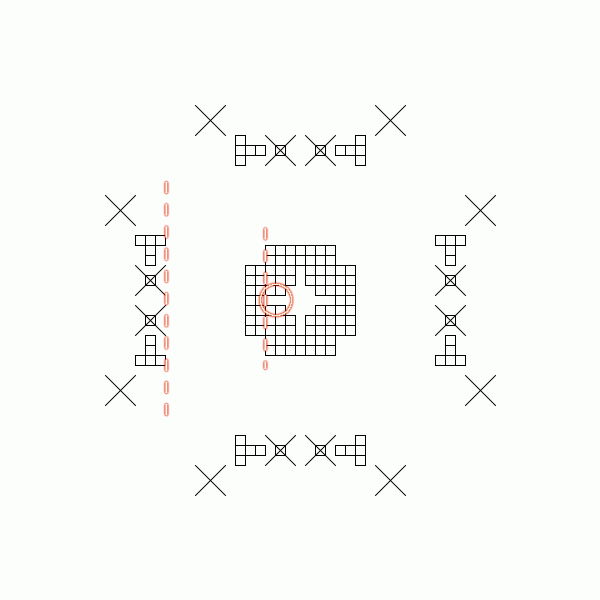
Now, all the 8 X shapes are joined, and also the triplets inside connect to each other in a very promising way:
But the whole picture is overcrowded due to the other figures, and a simplified version of the pattern (including only the significant elements) would be preferable.
To construct this we must know beforehand, which items are relevant, and for this we need an approximate idea about the type of message hidden in the drawing.
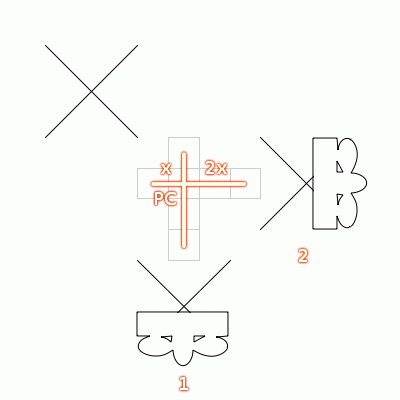
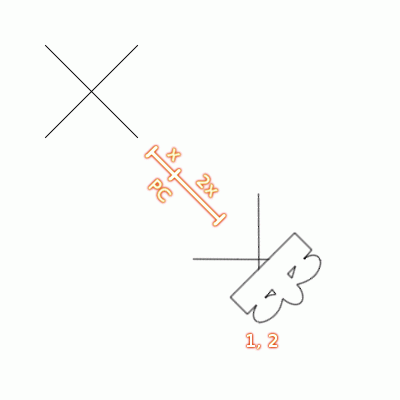
In step #3 we try to find out, what could be the context for the secret message that is (presumably) encoded in the configuration of the triplets.
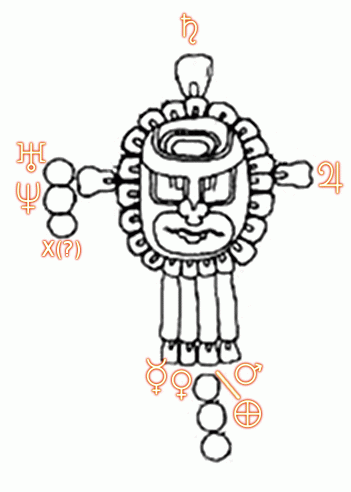
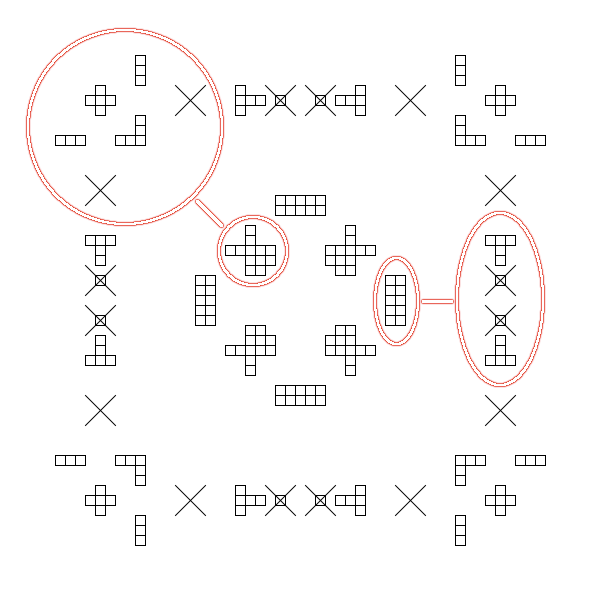
First, we recognize the left face-like shape as a potential diagram of the Solar System:
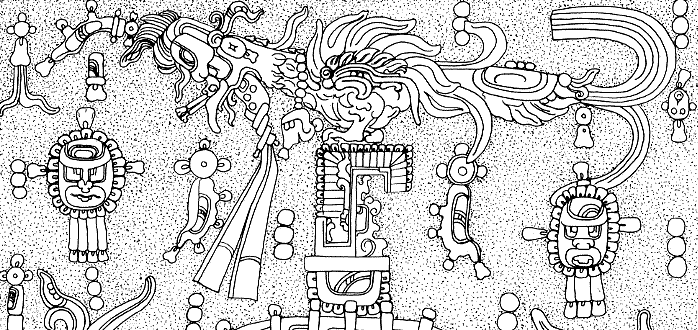
Then we notice that the other face-like shape could logically represent another solar system and the bird above could symbolize an interstellar travel between the two:
Now we expect that the triplets will identify somehow the other solar system at the end of the transformation process.
Obviously, for this purpose we will also need the two star symbols on the lid to represent the two solar systems:
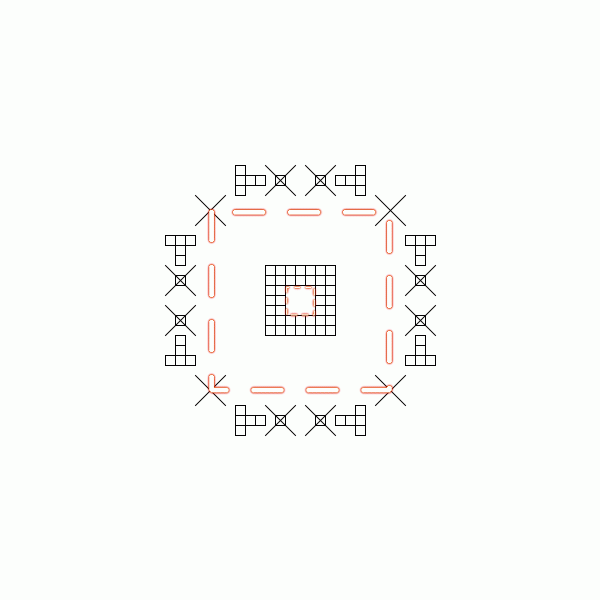
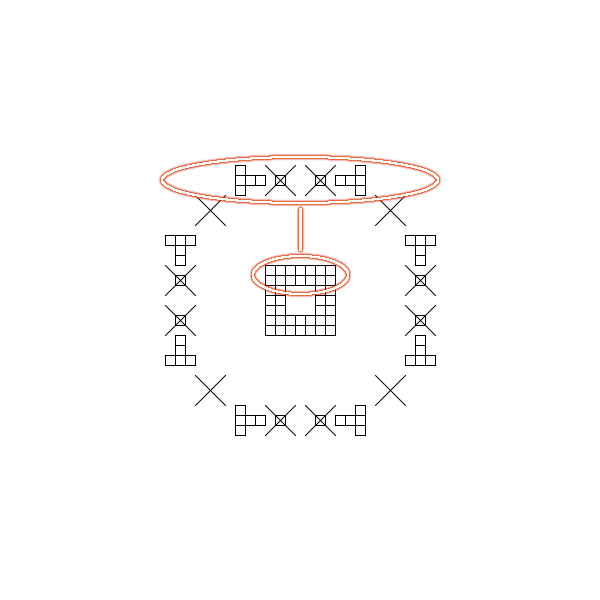
In step #4 we create a normalized version of the pattern by placing the relevant items in a coordinate system:
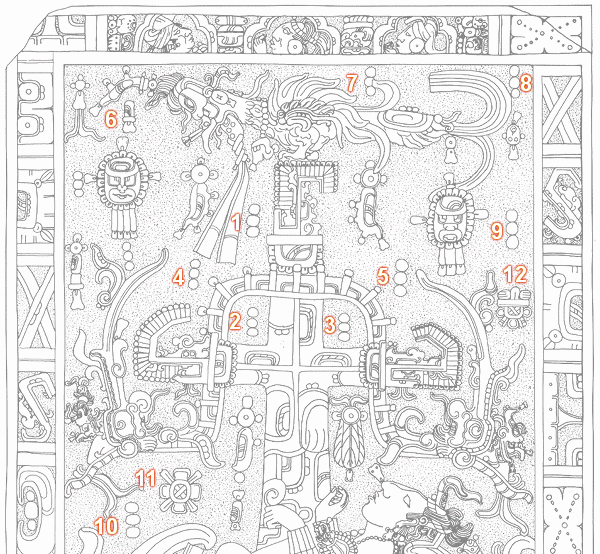
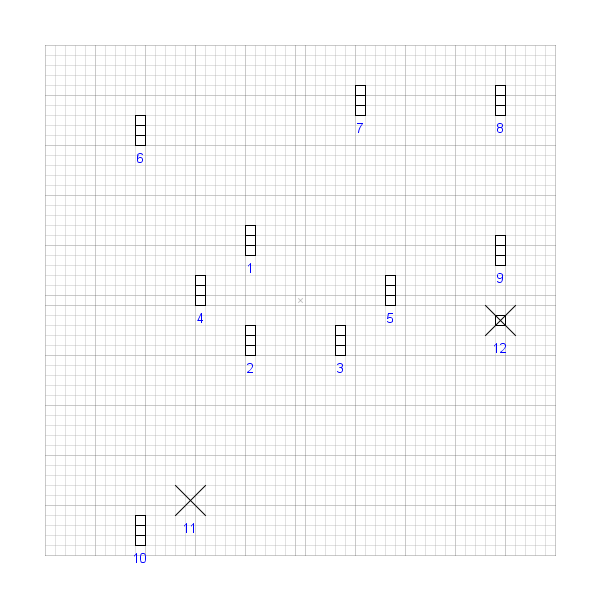
Note: about the item #6 (whether it should be treated as a triplet or not), please refer here.
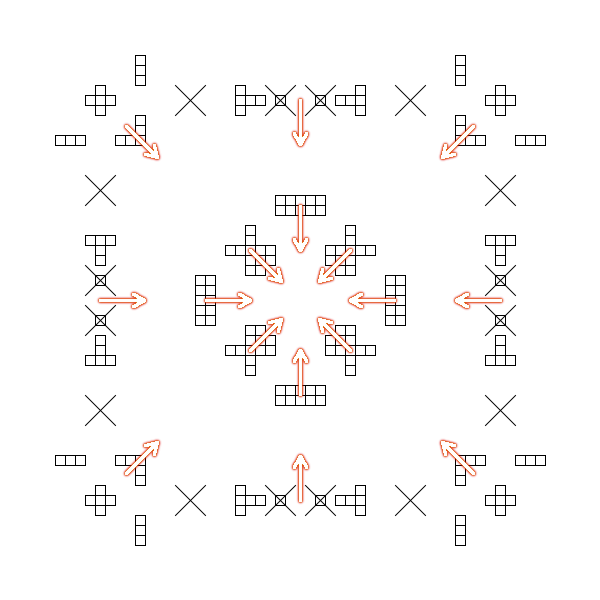
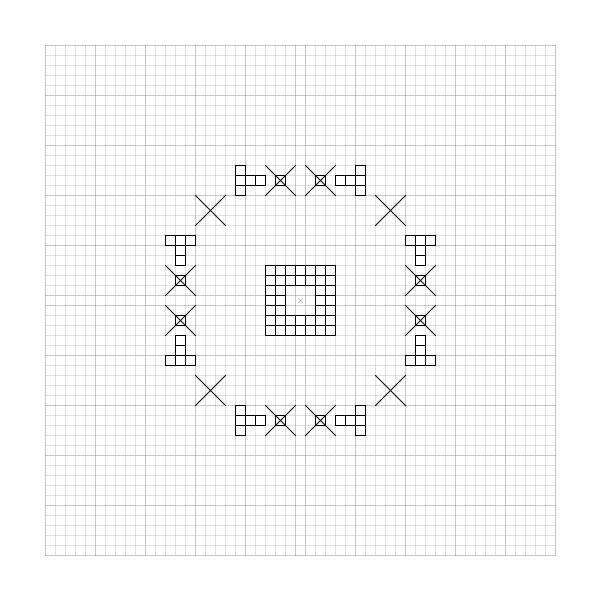
In step #5 we perform the three rotations again in this system:

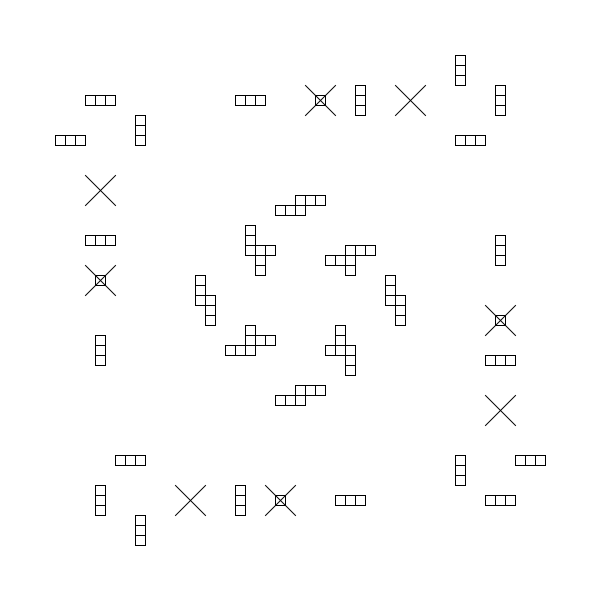
In step #6 we realize that we can make the pattern more complete by reflecting it in the Y axis (this is the finish of the pattern-level transformation phase):
In step #7 we analyze the obtained pattern:
We conclude that its symmetry is not barely the result of the rotations, but instead the items must have been placed in a (very) special way initially by the designers to obtain such an ordered arrangement.
In step #8, first we have to find the new, item-level transformation method that is required to continue the solution (since the picture cannot be made more perfect at the pattern-level any longer):
We recognize that the inner and the outer items can be attached to each other:
We notice that the outer part must be the important one with regard to the identification of the other solar system, since both the sun and the star symbols are located there.
Our assumption is that the inner part has the role of indicating what operations need to be performed on the outer elements.
At this phase, the inner items apparently suggest that we should move them toward the center (and together with them the attached outer items too of course):
We perform the indicated operations (which bring the sun and star symbols into an offset position to each other):
In step #9, first we remove the corner elements, following the hint of the inner shape:
Then we recognize that obviously the "fringes" of the inner shape should be attached to the outer items:
The inner shape suggests that, in order to cover the gaps and to make the shape more perfect, we should fold back the fringes (and together with them the attached outer items too):
We perform the indicated operation (which results in the sun symbols covering each other pairwise):
In step #10, first we notice that apparently the inner and outer squares should be attached to each other:
Then we link the inner and outer items:
Finally, we realize that we should fold back the items to the edges of the squares to make the inner shape more perfect:
At this point we have successfully completed the transformation process, since the inner shape is a full 3×3-sized square now:
In step #11 we try to interpret this picture and to locate the other solar system with the help of it.
First, we remove the redundant items, then we integrate the closing part of the other star symbols into the drawing:
We conclude that the squares between the Sun and the two stars most probably represent the (relative) distances from the nearest star (the Proxima Centauri):
Then we "close the scissor" to reveal the hidden message:
The deciphered secret message:
The other solar system, which served as the starting point for the interstellar travel, consists of two stars (i.e. is a binary system), and is approximately three times as far away from us, as the nearest star (the Proxima Centauri).
Finally, in step #12 we review the process and analyze the encoding method.